Install PySpark in Anaconda & Jupyter Notebook. Before learning about PySpark, let’s first comprehend Apache Spark.
What is Apache Pyspark?
Simply said, Apache Spark is an open-source framework created in Scala for the distributed analysis of huge datasets (in a cluster). Due to its in-memory processing, Spark operates 100 times quicker than conventional processing. In this blog you will learn how we can install pyspark in anaconda and jupyter notebook.
What is Pyspark?
In order to process larger datasets in a distributed cluster, PySpark provides a Python API for Apache Spark. It is written in Python and uses Apache Spark to run a Python application.
we will be installing the complete set up to use pyspark on our local server. for this purpose you have to follow the following step fo successful installation i.e.install pyspark in anaconda and jupyter notebook.
Install Pyspark in Anaconda and Jupyter Notebook i
For setting up the apache spark environment in jupiter notebook we have do the two following setup installation.
- Downloading Anaconda Environment.
- Download Java (jdk) from Oracle
- Setting up java_home variable in environment variable.
- Downloading apache spark latest version.
- Downloading winutil bin folder.
- Set up for adding it to environmental variable.
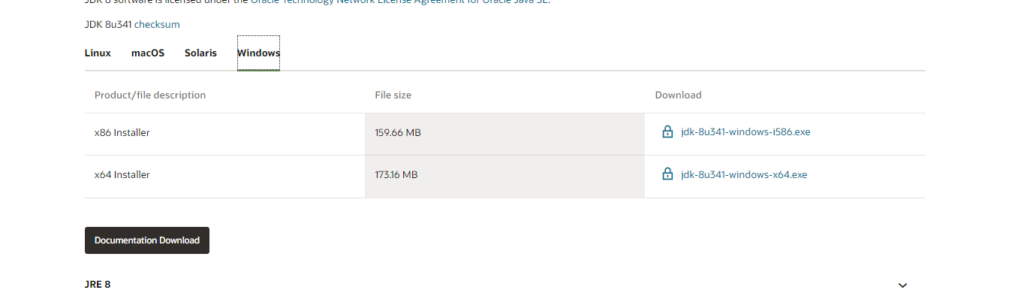
Download Java (jdk) from Oracle
First step is to check if java is already installed in your pc or not.
Checking if Java in Installed:
for this purpose you have to follow the following steps:
Go to Command Prompt
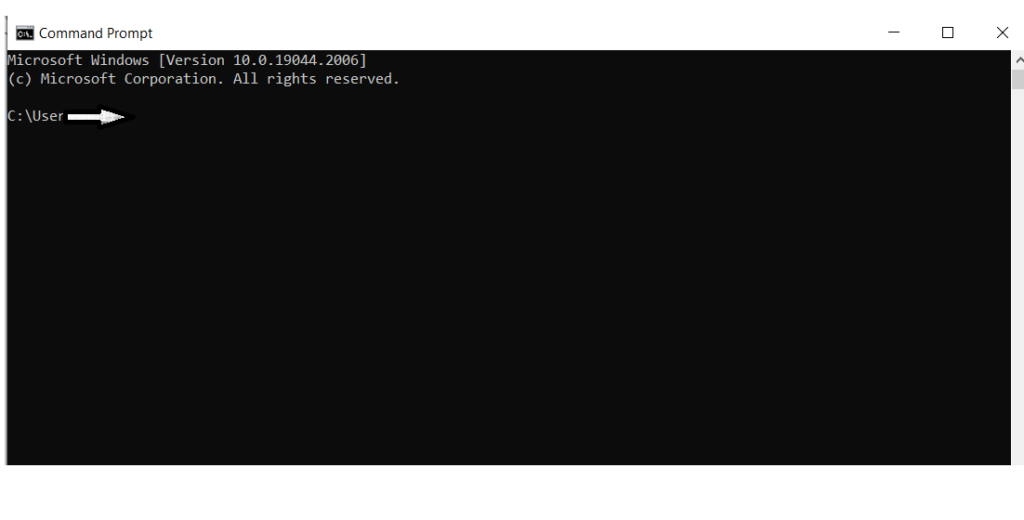
Now we will execute the following command to if if java is already installed
Command: java -version
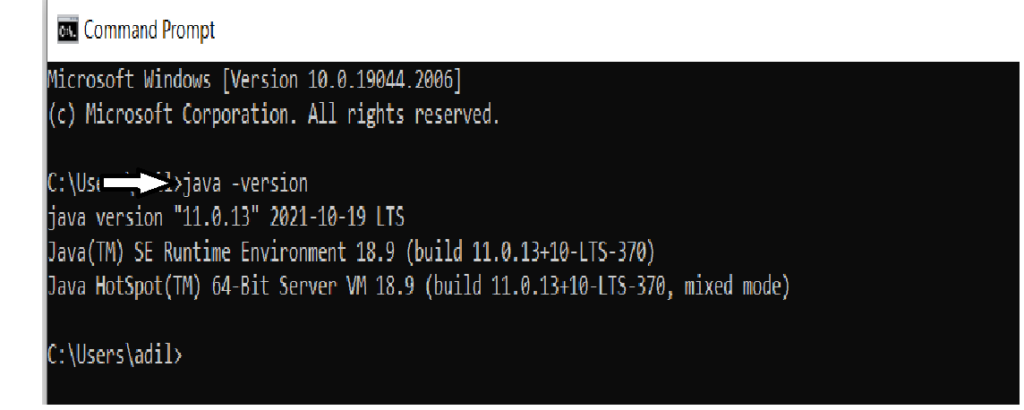
If it is not installed then you have to install it through link:
Oracle. and after installation you can again check if it is installed or not
Up till now you have succussfully installed java. Now the next part is to set up environment variables. for this purpose you have to perform the following steps:
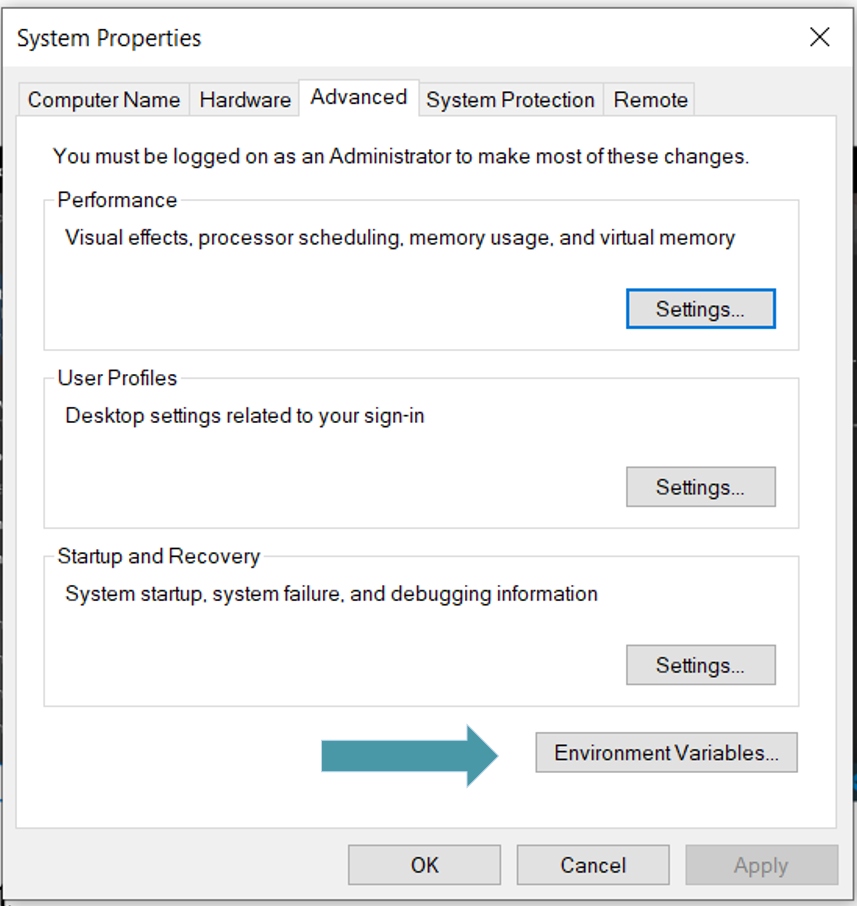
open the environmental variable from search bar

Click on the edit the system environment . And the following interface will get open. Click on Environment variable as highlighted in a picture down below
Now you can see we have two sections User Variable as well as System Variable. but before setting up the environment variable. we will make sure to copy the path of java folder in c drive for this purpose you have to follow the following procedure.
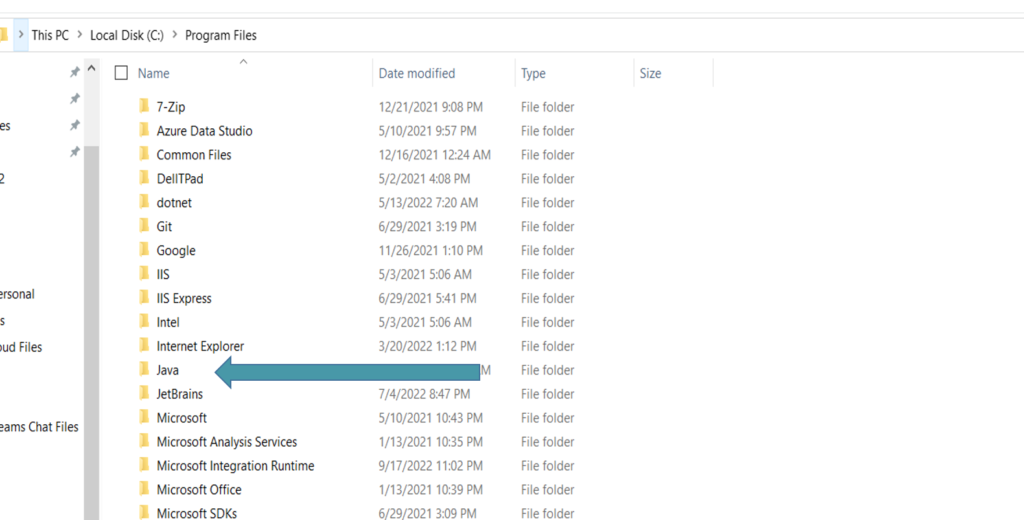
Click on java folder and inside java you will see bin folder, go inside the bin folder and copy the path.

Hence now you have successfully copied the path now we will add it in our system variable

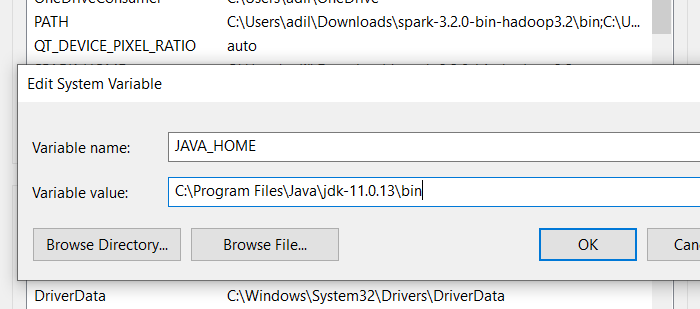
First we will set System variable for java for this purpose click on New.. button under System Variable section and examine the picture down below.
As we set up system variable now we will set the user variable as well for this purpose choose the Path Variable already existed in User variable if it’s not present you can create a new variable.
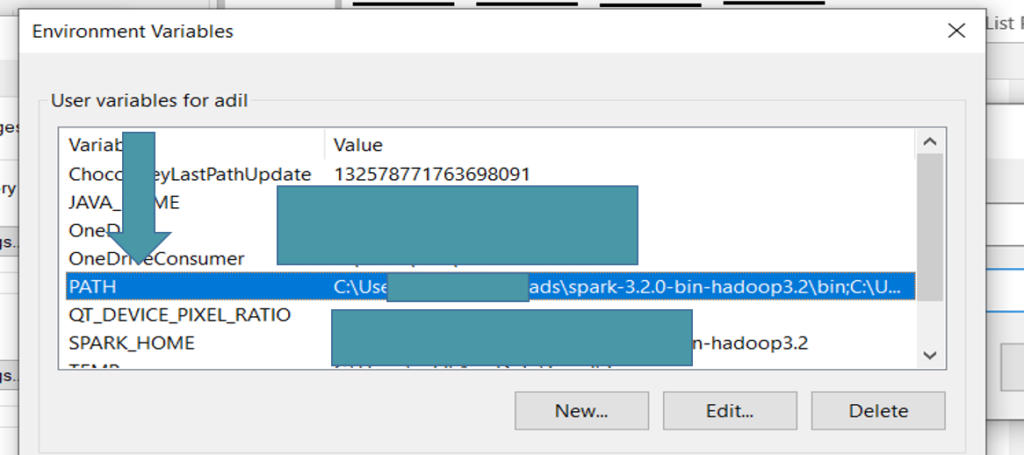
Click on it and add the same path you copied for system variable java_home variable.
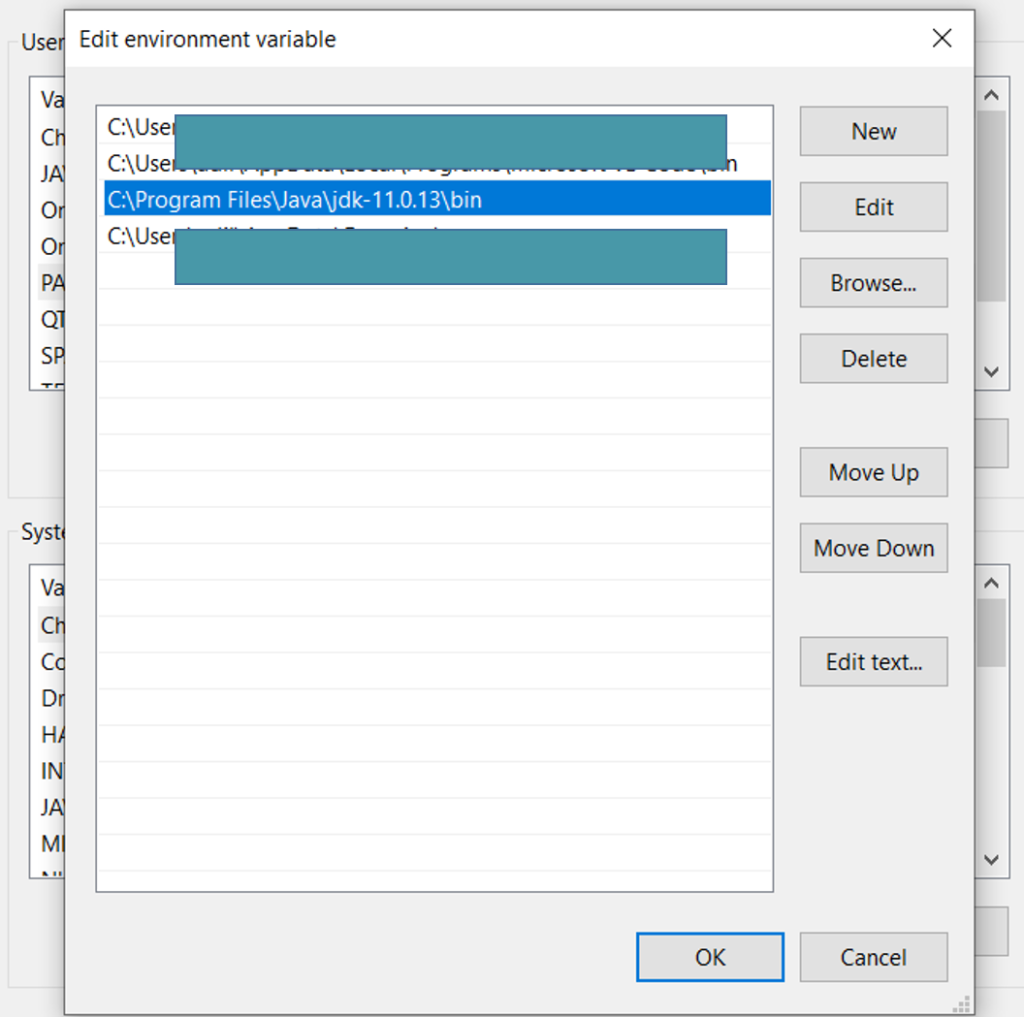
Till now you have successfully added the environment variable for both systemn and user variable.
Download Apache Spark latest version
For downloading Apache Spark click on the this link :
Apache Spark download link. following page will get open.

Choose the version you want to install. Install it and then new folder with extension ”.tgz” will be installed you can unzip it using the 7 zip extractor. you can installed dit from here : download
7 zip extractor. make sure two unzip the folder inside the c dive.
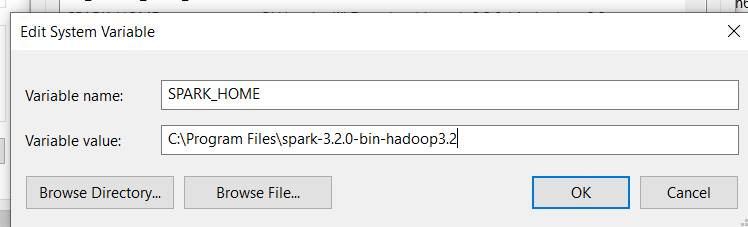
and again you have to set the environment variable for pyspark in both user and system variable process will be same as mentioned above for java.
But this time instead of adding one variable you will add two i.e
SPARK_HOME :
HADOOP_HOME:
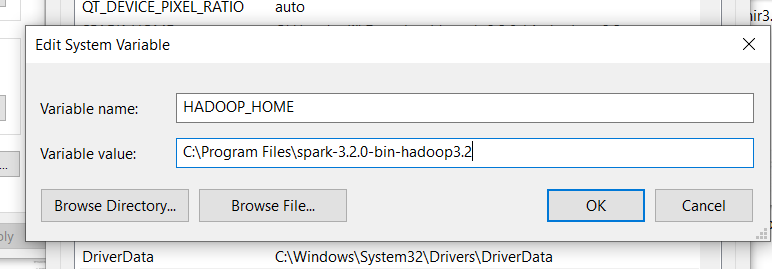
Add the same path in User Variable as we did for java path variable.
Download winutils.exe file and add it to bin folder of spark hadoop folder
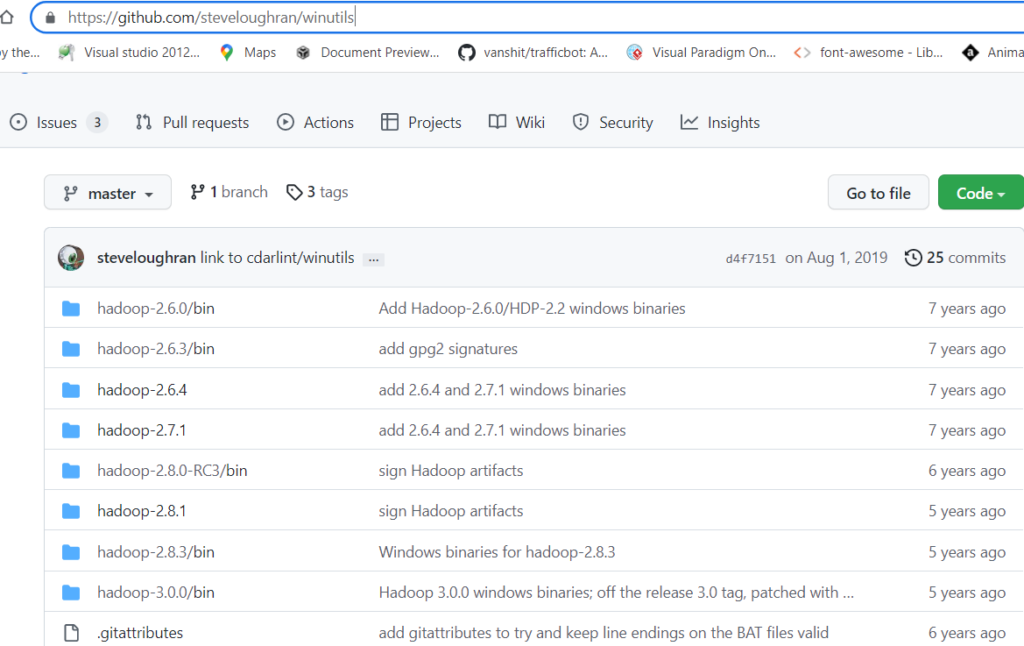
Now you have to install winutil file from github. You can download it from here:
winutils github link.
you will see differ version as given below you can choose the version you installed in spark hadoop you installed earlier.
choose the version you want you will see bin folder go inside bin and yoy will findout winutil.exe installed it.

move down below you will see the winutil.exe you can see it in picture down below:
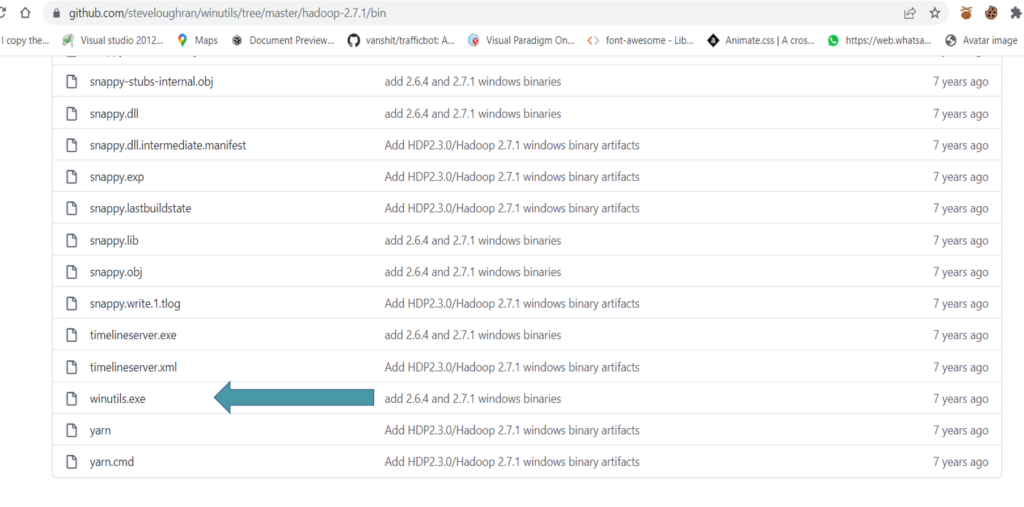
After installing it you have to add this winutil file inside bin folder of spark folder path that you installed earlier in step.

Now download anaconda for windows or mac from given link :
Anaconda Download. steps are simple press next when you install the set up. once it will get install you will search for it in your pc and launch it.
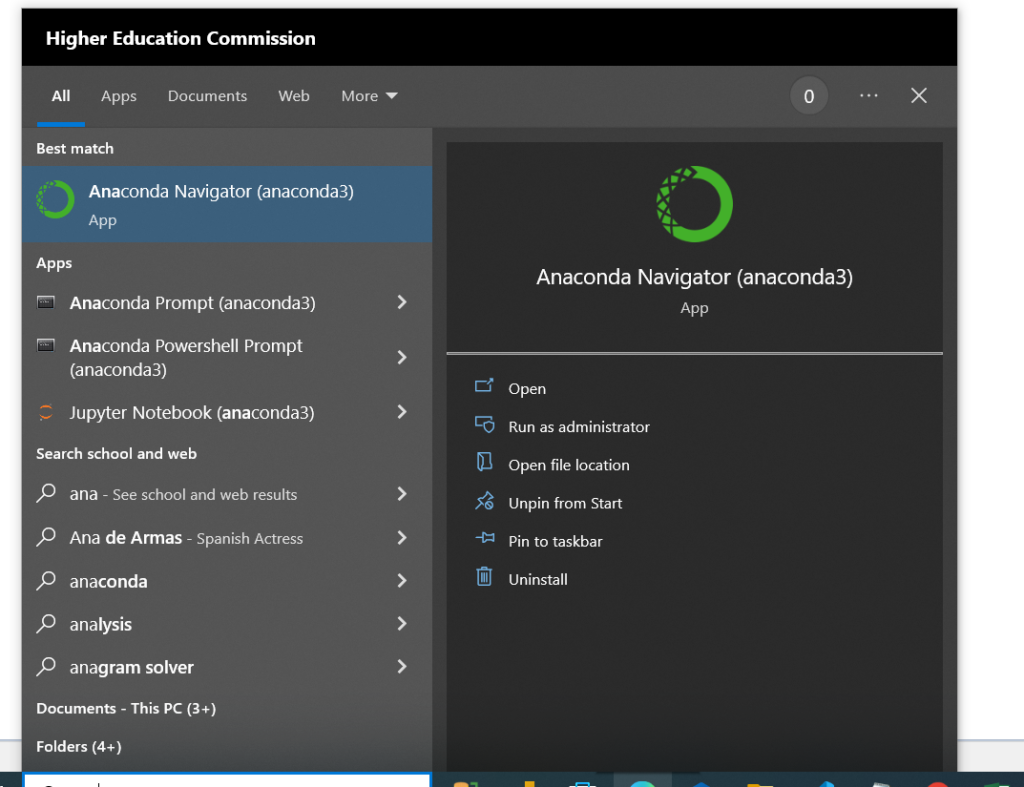
Anaconda Prompt shell will automatically be installed you can open the Anaconda Prompt to verify if pyspark is installed correctly or not
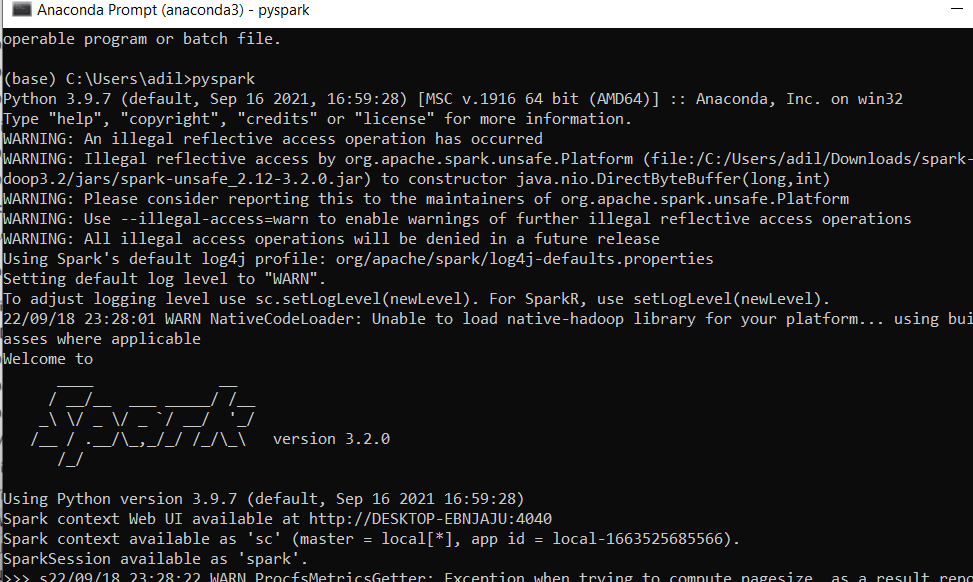
Hence you have successfully installed and set u the environment i.e. downloading Pyspark and Anaconda jupyter notebook.
in our next blog we will show you how to work with jupyter notebook to create spark dataframes. If you find any diffculty while installing the set up you can comment down below and our expert will assist to solve the problem.
Our blog related to big data might help you to understand about how data analytics works click on the article mentioned down below for detail over view: